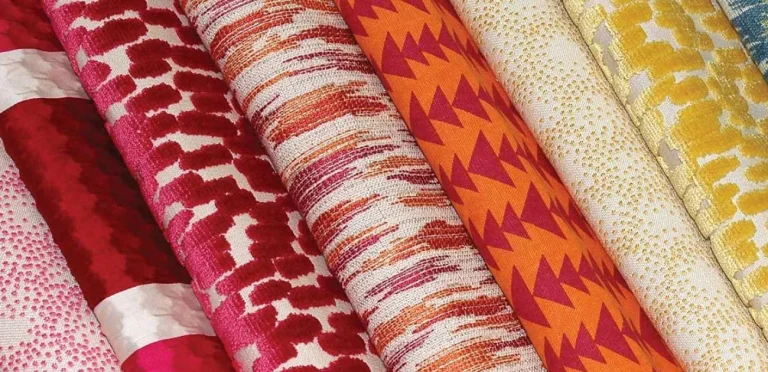

Water always looks for a way in. Salt wants to eat metal and films. Waders and fishing boots live in this world all day. Good seam design keeps water out under pressure. Good material choice keeps parts safe in salt and sun. This guide gives simple steps that work on the river and at sea.
Know the forces
Hydrostatic pressure rises with depth. Even a shallow stream pushes on a seam. Kneeling or sitting puts extra load on knees and seat. Walking causes the ankle and toe to bend repeatedly. Salty sea water evaporates on the surface of the boots, leaving behind crystals that attract moisture and corrode parts. So seams must be flat, sealed, and tough. Trims must resist salt.
Choose the right seam build
There are three main ways to join waterproof panels.
- Sew and tape. A lockstitch seam joined by thread, then covered inside with a hot melt tape. Common and service friendly.
- Welded. RF or ultrasonic welding on compatible films and coated fabrics. No holes from needles. Very clean for high pressure zones.
- Hybrid. A short structural stitch with a cover tape plus a short welded zone at the highest pressure point.
Use welded or hybrid on knees, seat, crotch, and lower leg. Use sew and tape on calves, chest, and pockets where access and repair matter.
Stitch type, length, and geometry
If you sew, keep holes few and calm.
- Use 301 lockstitch for construction lines. It balances well and is easy to service.
- Set stitch length 3.0 to 3.5 mm on structural joins. Fewer holes mean lower leak risk.
- Avoid dense bartacks that feel like a rock and can crack tape. Use two short wide tacks, width 3 to 4 mm, about 10 to 14 stitches.
- Round every corner to 6 to 8 mm radius so holes do not crowd.
- Press a shallow stitch channel before taping so the seam sits low. Tape then bridges smoothly with no hard ridge.
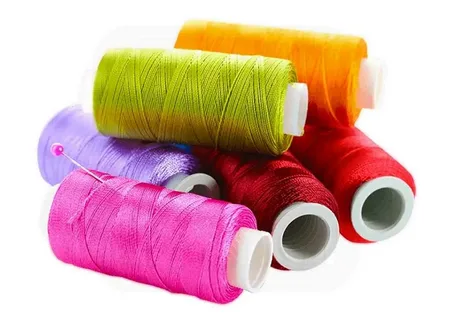
Thread and needle choices
- Corespun polyester sewing thread is the default. Strong for size, low water pick up, very stable in wet and dry cycles.
- High tenacity polyester at boot gaiters, gravel guard hooks, and belt loop roots.
- Anti wick variants at hems and lower legs so water cannot track along the seam.
- Use the finest passing ticket to allow a smaller needle. Smaller holes seal better under tape.
- Polyester embroidery thread for logo.
Needles.
- Micro or light round for coated fabrics and films.
- Ball point only where knit liners meet the shell.
- Start NM 80 to 90. Coated needles lower heat and stop gloss on films.
Tapes, films, and bonding
Tape must match the shell.
- Use seam tapes from the same polymer family as the coating. PU to PU, for example.
- Clean and activate with the correct temperature and speed on the tape machine.
- Keep tape width modest. Often, 20-25 mm is enough. Wider tape can peel at edges if the seam is not flat.
- Avoid sharp edges at tape ends. Round them to reduce lift in repeated flex.
For welded zones, control time, pressure, and energy. Test peel and hydrostatic head after a 24 hour rest to let the bond relax.
Panels and reinforcement
- Put extra film layers at the knees, inner calves, and seat. For boots, add foxing guards and rand wraps where rocks rub.
- Inside the allowance, add narrow reinforcement tapes 3 to 4 mm wide that run along high load paths. This spreads force under the tape and keeps the seam line quiet.
Salt, sun, and hardware
- Use plastic or coated metal hardware that passes salt spray tests.
- Seat snaps and D rings on soft backers so a needle can sew nearby without breaks.
- Choose zippers designed for wet and salt. Add a knit or film guard behind the zip so the tape does not rub the shell.
Simple lab and bench tests
- Hydrostatic head on seam
Make a sewn and taped coupon and a welded coupon. Test to failure. Aim for seam pressure equal to or above fabric pressure. - Peel after soak
Soak taped and welded seams in fresh and salt water for 24 hours. Dry 24 hours. Peel tape and welds. If peel is low, increase activation heat or speed correction and retest. - Flex and bend
Flex 10k cycles at the knee radius. Check for tape whitening and edge lift. If you see lift, add a stitch channel or reduce seam bulk before taping. - Salt spray and UV
Expose trims and stitched coupons. Look for thread shade shift, hardware pit, and tape edge chalk. Move to higher fastness thread or better trim finish if issues appear.
Field care and hygiene
- Rinse waders and boots with fresh water after salt use.
- Air dry in shade. Do not bake in hot sun or on heaters.
- Store open and flat. Fold lines can stress tape edges.
- In repair, clean salt before heating tape. Salt under tape causes bubbles.
Troubleshooting quick table
| Problem | Likely cause | Fast fix |
| Weeping seam at knee | Short stitch and crowded corner | Lengthen to 3.2 to 3.8 mm, radius 6 to 8 mm, re tape with right heat |
| Tape edge lift after day 3 | Seam ridge too tall or low activation | Press channel, reduce bulk, raise temp or slow speed on tape machine |
| Wicking up leg | No anti wick or low seam height | Use anti wick thread, move seam 2.5 to 3.0 mm above splash line |
| Weld peel after salt soak | Wrong energy or dirty film | Clean better, adjust dwell and pressure, retest after 24 hours rest |
| Corroded snap or ring | Trim not salt rated | Switch to coated or polymer trims and add soft backer |
Tech pack lines you can copy
- Stitch 301 construction length 3.2 mm, two short tacks 3 to 4 mm wide at stress points, channel press before tape
- Thread corespun polyester for runs, high tenacity at guards, anti wick at hems and lower legs
- Needles micro or light round NM 80 to 90, coated type
- Tape PU on PU shell, 22 mm width, rounded ends, activation temp per supplier sheet
- Weld RF at crotch and knee darts where compatible
- Hardware salt rated, zip with guard, trims on soft backers
One week pilot plan
Day 1 cut panels and build two seam sets, sew and tape, and welded.
Day 2 run hydrostatic head and peel baselines.
Day 3 flex 10k at knee radius and check edges.
Day 4 salt soak 24 hours, dry 24 hours, repeat peel.
Day 5 field wade in fresh water and salt for two hours each.
Day 6 rinse, dry, and retest leak points.
Day 7 lock the recipe that stays dry and holds peel after salt.
Wrap
Water pressure and salt are relentless, but smart seams win. Keep holes few and corners soft. Match tape to shell and set heat right. Use anti wick thread and raise seams above splash zones. Choose trims that like salt. Test it under different circumstances. This will ensure your waders and boots stay strong for long.